Showing posts with label Baking. Kitchen. Show all posts

Monday, 10 August 2015

Rissole Casserole

This is another one of my made up recipes.  I love a good casserole and mash and this one ticks all the boxes.  I'm the best Mum ever when I make this for my family.  I hope you enjoy it as much as we do.

500 grams of beef mince
1 medium carrot peeled and diced
2 – 3 medium mushrooms sliced
½ a zucchini diced
1 cup of frozen or fresh beans
1 stick of celery diced
1 tin of tomato soup
Salt and pepper to taste
Good shake of dried oregano,  basil,  onion flakes and garlic
500 - 700 ml of water
1 cup of uncooked shell or 1 1/2 cups of spiral pasta


Roll mince into small balls. 
Place into a large oblong casserole dish. 
Add carrot,  celery,  mushrooms,  beans and zucchini over the top. 
Sprinkle on the seasonings.  
Mix the soup with 500 - 700 ml of water and pour over everything..
Cover with foil and cook in the oven for 40 minutes at 180 degrees Celsius 
Take out of oven,  remove the foil and add the pasta.  
Push the pasta under the liquid so that it cooks.  Replace the foil.  
Return to the oven for a further 20 minutes or until the pasta has cooked through. 
Serve with mash and crusty bread.  

Serves 4 – 6 people. 
Freezes well.

NOTES -

*  If you have the time,  brown the rissoles in a fry pan first then add to the casserole dish.

*  I'm all for budget ingredients but this is a dish that needs a good quality tomato soup.  The Aldi brand is strong in flavour and dilutes well without loosing too much taste. Please don't use a generic brand unless you add 2 tablespoons of tomato paste for extra flavour..

*  This is a recipe where you can add any vegetables you have on hand. 

*  Left overs are great on toast.

Winter comfort food.
Browned rissoles with added carrot.
Adding silverbeet - because I can.
Ready to serve.

Thursday, 26 March 2015

My Menu Plan

Oops,  I'm a bit late with my menu  plan.  Here's what we will be eating for the next four weeks -

Mon 23rd -  Chop suey and brown rice
Tues 24th - Sausage casserole in the slow cooker with mash
Wed 25th - Roast beef in the slow cooker with roast potato,  pumpkin,  carrots and steamed veg
Thurs 26th - Tuna pasta bake
Fri 27th - Honey mustard chicken and rice
Sat 28th -  Homemade hamburgers and wedges
Sun 29th -  Get your own but feed me

Mon 30th -  Tacos and a baked dessert of some description
Tues 31st -  Beef stew in the slow cooker with mash
Wed 1st -  Roast chicken with roast veg and steamed veg
Thurs 2nd -  Fish portions,  rice,  zucchini slice and steamed veg
Fri 3rd - Spag bol
Sat 4th - Chops,  mash and steamed veg
Sun 5th -  Get your own but feed me

Mon 6th - Homemade meat pie and steamed veg
Tues 7th -  Homemade KFC drumsticks with mash and steamed veg
Wed 8th -  Silverside in the slow cooker with roast veg and steamed veg
Thurs 9th -  Tuna casserole and greens
Fri 10th -  Freezer bits and pieces that need using up
Sat 11th - Chicken schnitzel,  mash and steamed veg
Sun 12th - Homemade pizzas

Mon 13th -  Meatloaf and gravy with mash and steamed veg
Tues 14th -  Chicken flan with herb /garlic bread
Wed 15th   Roast leg of lamb with roast veg and steamed veg
Thurs 16th -  Salmon patties with brown rice and steamed veg
Fri 17th -  Shepherd's pie with herb bread
Sat 18th -  Freezer meals
Sun 19th - Family over for lunch so maybe leftovers for tea.

Homemade Hawaiian pizza
Roast veggies
Homemade hamburgers and wedges
Krispy Fried Chicken

Tuesday, 17 March 2015

Hamburgers At Home

The cheapest takeaway meal I can make is homemade hamburgers and wedges. I make the hamburger patties in bulk and freeze them into lots of four for future quick meals. The rolls are made ahead of time using my wholemeal bread recipe and frozen as well. In Summer we grow our own lettuce and tomatoes so this reduces the cost as well. Here are the ingredients and costs for the most delicious hamburgers.

Patties - Start off with one kilo of regular beef mince ( $5 per kg )
seasonings of pepper, garlic, seasoned bread crumbs ( homemade ), tomato sauce, soy sauce , onion, parsley. I use dried onion and herbs.  The seasonings cost about 5 cents per patty  I use a good shake or squirt of everything and combine it well with my electric mixer.
Use your electric scales to weigh out 80 grams per patty.  The cost per patty with the seasonings is approx 45 cents.


Bread rolls cost 10 cents each to make .

Cheese, lettuce and tomato ( if you grow your own ) the cost is approx 10 cents for the cheese. If you need to buy all these allow about 30 cents.

Tomato sauce or mayo about 5 cents

Homemade wedges - potatoes cost about $2.99 for five kilos.  I use my Nicer Dicer to cut the potatoes into wedges.  I spray them lightly with olive oil and sprinkle with Season All.  Cook for about an hour at 200 degrees Celsius.  For a single serve of wedges with seasoning the cost would be 20 cents.

Total cost for a single hamburger and serve of wedges is $0.90.

If rolls and patties are made and frozen ahead of time, it takes about 15 minutes to make the hamburgers.  Occasionally Darren adds an egg to his hamburger. We have chickens to supply us with eggs so it doesn't cost us anything to add an egg. This meal is filling, , far more filling than what you can buy at the shops.

Next time you have a craving for takeaway, have a go at making your own. It's healthier, cheaper, tastier and far more satisfying to make it yourself.


Homemade hamburger and chips
Homemade wholemeal rolls.
Hamburger and wedges 

Tuesday, 3 March 2015

Muesli Bar Slice


I found this recipe on the internet just before the GST was introduced. Mums all over Australia were trying to find ways to cut costs. I guess nothing has changed !!  Of course I tweaked the recipe to suit our own tastes and budget

1 cup of rolled oats / rice bubbles / corn flakes - it doesn't matter as long as there are some rolled oats in the mix and it equals 1 cup ( I mix it up )
1 cup sultanas, apricots, cranberries or other dried fruit
1/2 cup Whole meal or white Self raising flour
1/2 cup of raw sugar
1/2 cup of coconut
125g of butter
2 tablespoons of honey

Place butter, honey and sugar into a saucepan and melt until the sugar has dissolved
Mix all dry ingredients in large bowl
Add butter mixture to dry ingredients and mix until sticky
Press evenly into a greased slice tin. Use a potato masher to flatten out
Bake @ 180c for 20 - 25 minutes until golden
Cut into bars / squares when cold

Keeps for 5 - 6 days in airtight container

The finished product.

Squishing it down with the potato masher.

Ready for baking.

Tuesday, 18 November 2014

Chocolate Self Saucing Pudding


1 cup of Self Raising flour
75 grams of butter – melted
Approx. ½ cup of milk
1/3 cup of sugar
2 tablespoons of cocoa powder – sifted

 Sauce
½ cup of sugar
2 tablespoons of cocoa powder
Approx. 800mls of boiling water

 Mix flour,  sugar and cocoa powder together in a medium bowl.  Add the melted butter and milk and mix to form a very thick batter.  Spoon into a deep casserole dish and smooth off the top.
Into a large measuring jug add the cocoa powder,  sugar and boiling water.  Stir until sugar has melted.  Pour gently over the batter.

Bake in the oven at 180 degrees for about 40 minutes.  Serve with cream or ice cream
Just out of the oven

Ready to eat.
.

Tuesday, 11 November 2014

Pumpkin Scones

Pumpkin scones are a family favourite in my home.  Infact,  they have been a favourite for a very long time.  My grandpa loved to eat them too.  Although I didn't start making them until after he passed away,  I make them in honour of him.   I can just imagine him licking his finger to pick up the crumbs off his plate - just like he did with any food.

1 cup of cold, mashed and drained pumpkin
2 1/2 cups of self raising flour
1 egg
1 tablespoon of butter
1/2 cup of sugar

Cream the sugar and butter together.  Add the egg and mashed pumpkin and mix until combined.

Add the self raising flour and mix in with a dough hook or wooden spoon.

Turn onto a floured surface and lightly knead into a ball. 

Roll the dough out until it's about an inch high.

Cut with a round cookie cutter and place in a greased baking tin.

Bake for 15 -20 minutes at 200 degrees celcius

Serve with lashing of butter.


NOTES -

*  I use Jap pumpkin for flavour and price.

*  When pumpkin is on sale ( under $1 a kilo ) I buy a few whole pumpkins and store them on their sides in a dark cupboard.

*  Cook up a lot of pumpkin at a time. I use a vegetable steamer for the microwave.

*  Drain the pumpkin in the fridge for about 4 - 6 hours using a fine colander with a bowl underneath.

*  I freeze pumpkin in 1 cup measures for this recipe.  That way I have pumpkin on hand at any given time.

*  I use an electric mixer for this recipe.  I use the whisk beater for the wet ingredients then switch to the dough hook when I add the flour.

*  Scones can be frozen for at least a few months.

The finished product

Draining the cooked pumpkin

Pumpkin ready for freezing for future use.

Cutting the dough

Ready to bake

Pumpkin scones galore

Tuesday, 21 October 2014

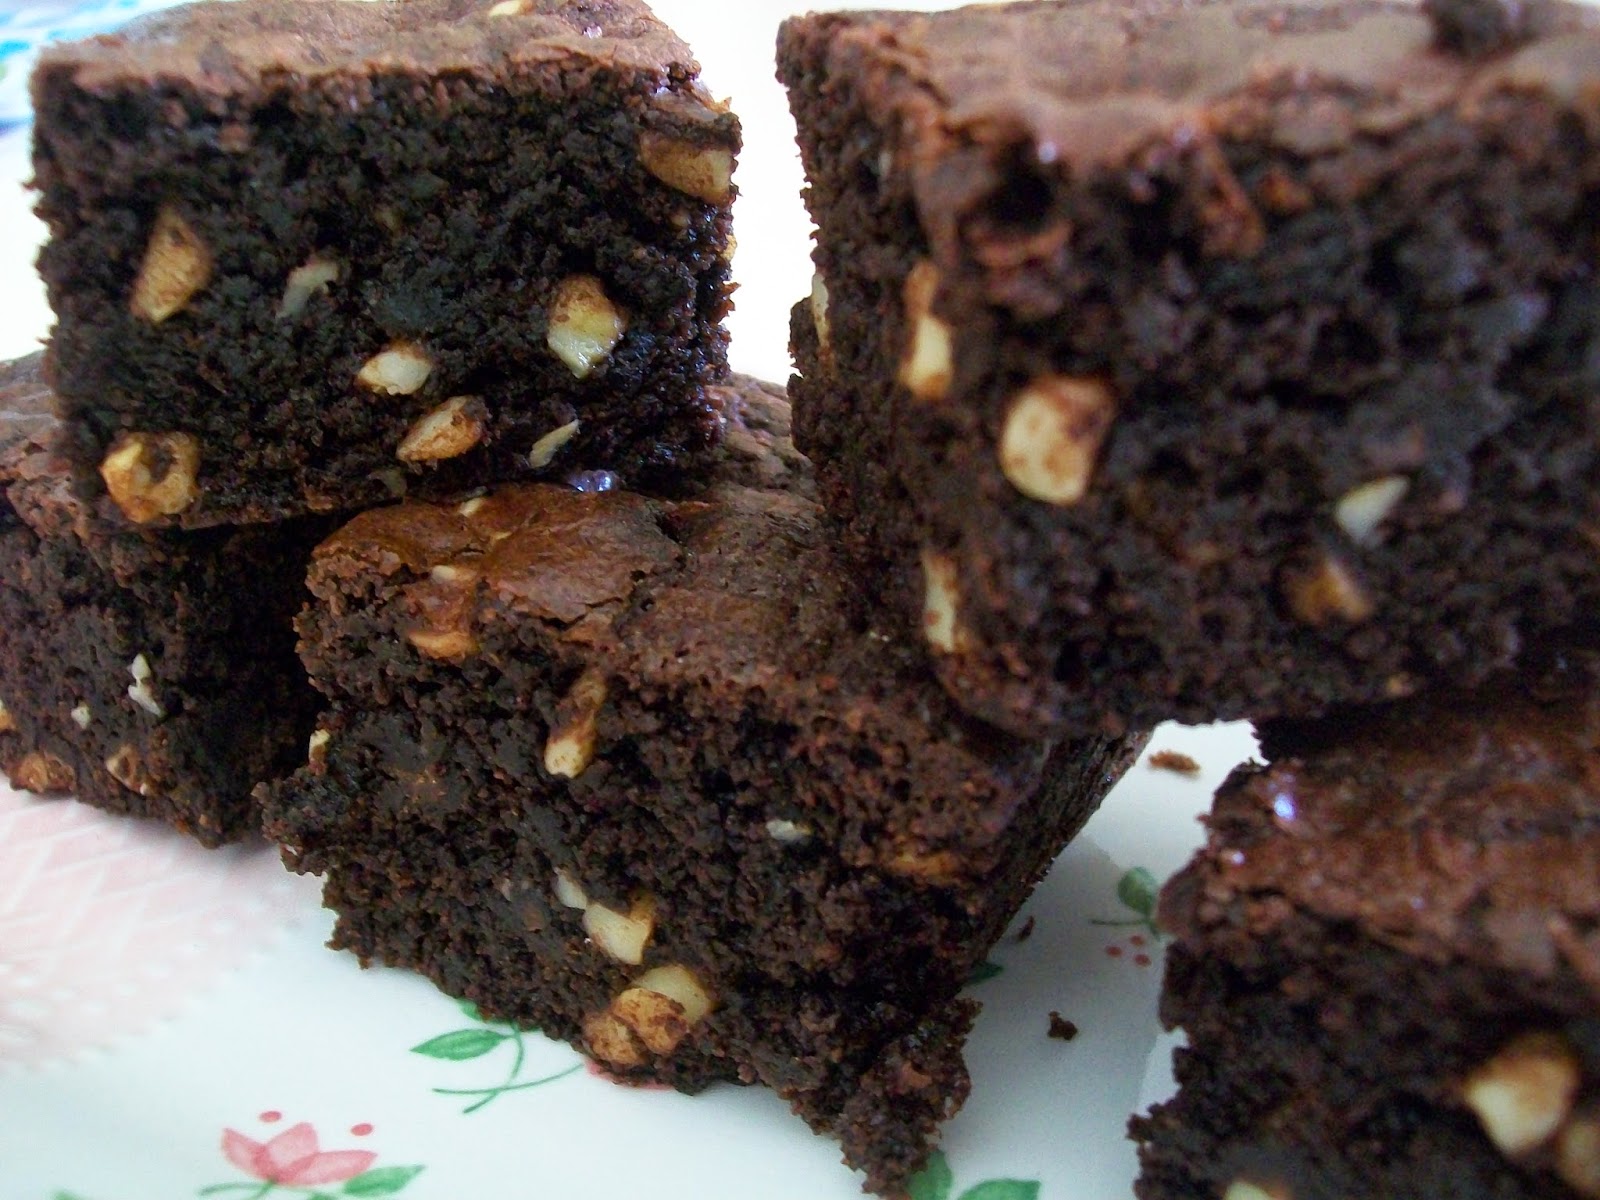
Chocolate Brownies


Here's my favourite brownie recipe. It's very easy and you can add chopped walnuts,  peanuts,  cashews or dried fruit for extra flavour.

1/2 a cup of butter ( 125g ) - melted
1 cup of sugar
1 teaspoon vanilla essence
2 eggs
3/4 cup s/r flour
1/3 cup of cocoa powder
1/2 cup of choc bits
1/2 cup of chopped nuts or dried fruit

Mix butter, sugar, vanilla and eggs with a spoon.
Add the flour and cocoa. Add chopped nuts / dried fruit if desired
Pour the mixture into a greased and lined square cake tin

Bake at 180c for 30  minutes or until edges are firm and the centre doesn't wobble - check with a skewer.

Remove from the tin when cold and cut into squares with a sharp knife.
NOTES -

*  Make sure the lining goes up the sides for easy removal when baked.

*  I quite often make a double batch. I add some nuts to half the mixture and the other half is left plain.  Both batches have the choc bits.

*  The brownies freeze well
*  Store in an airtight container for 3 - 4 days